Mastering Sashiko: 10 Essential Tips for Beginners
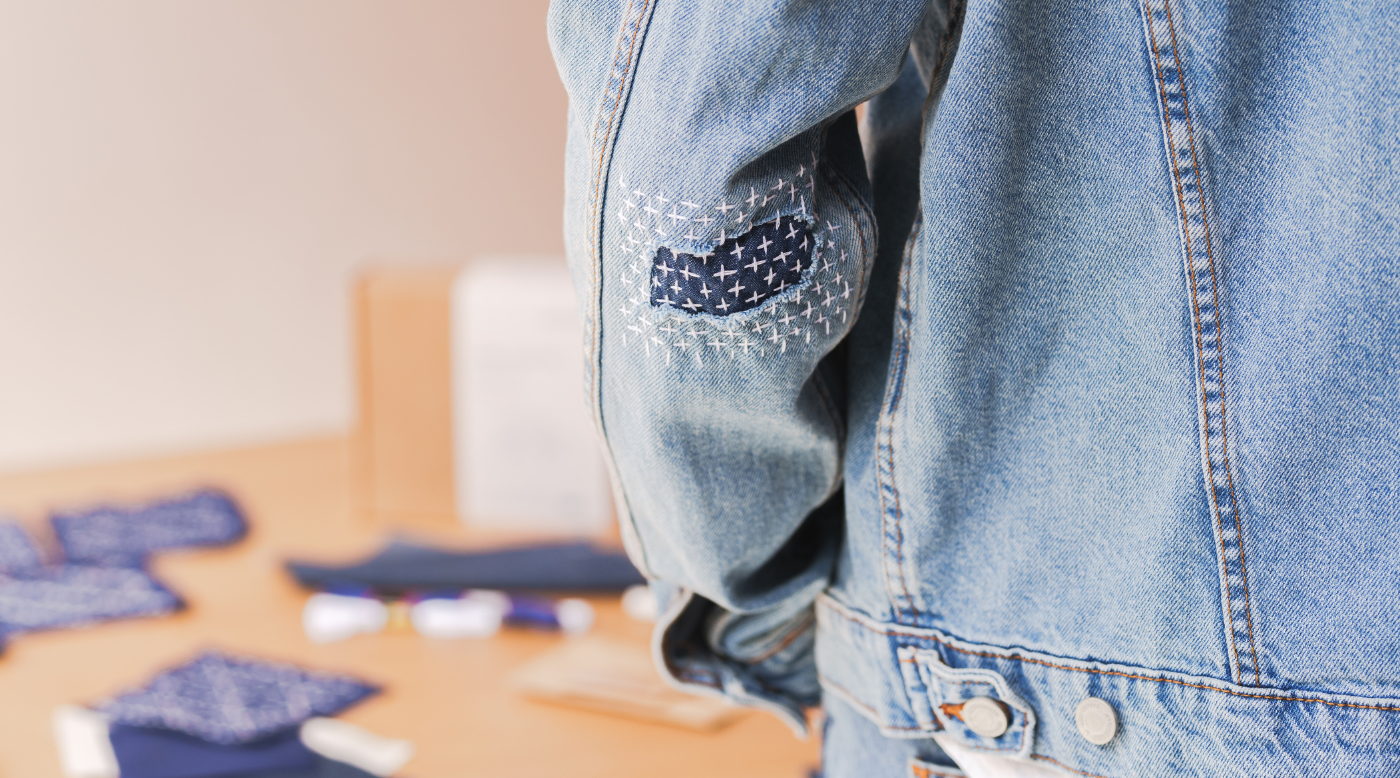
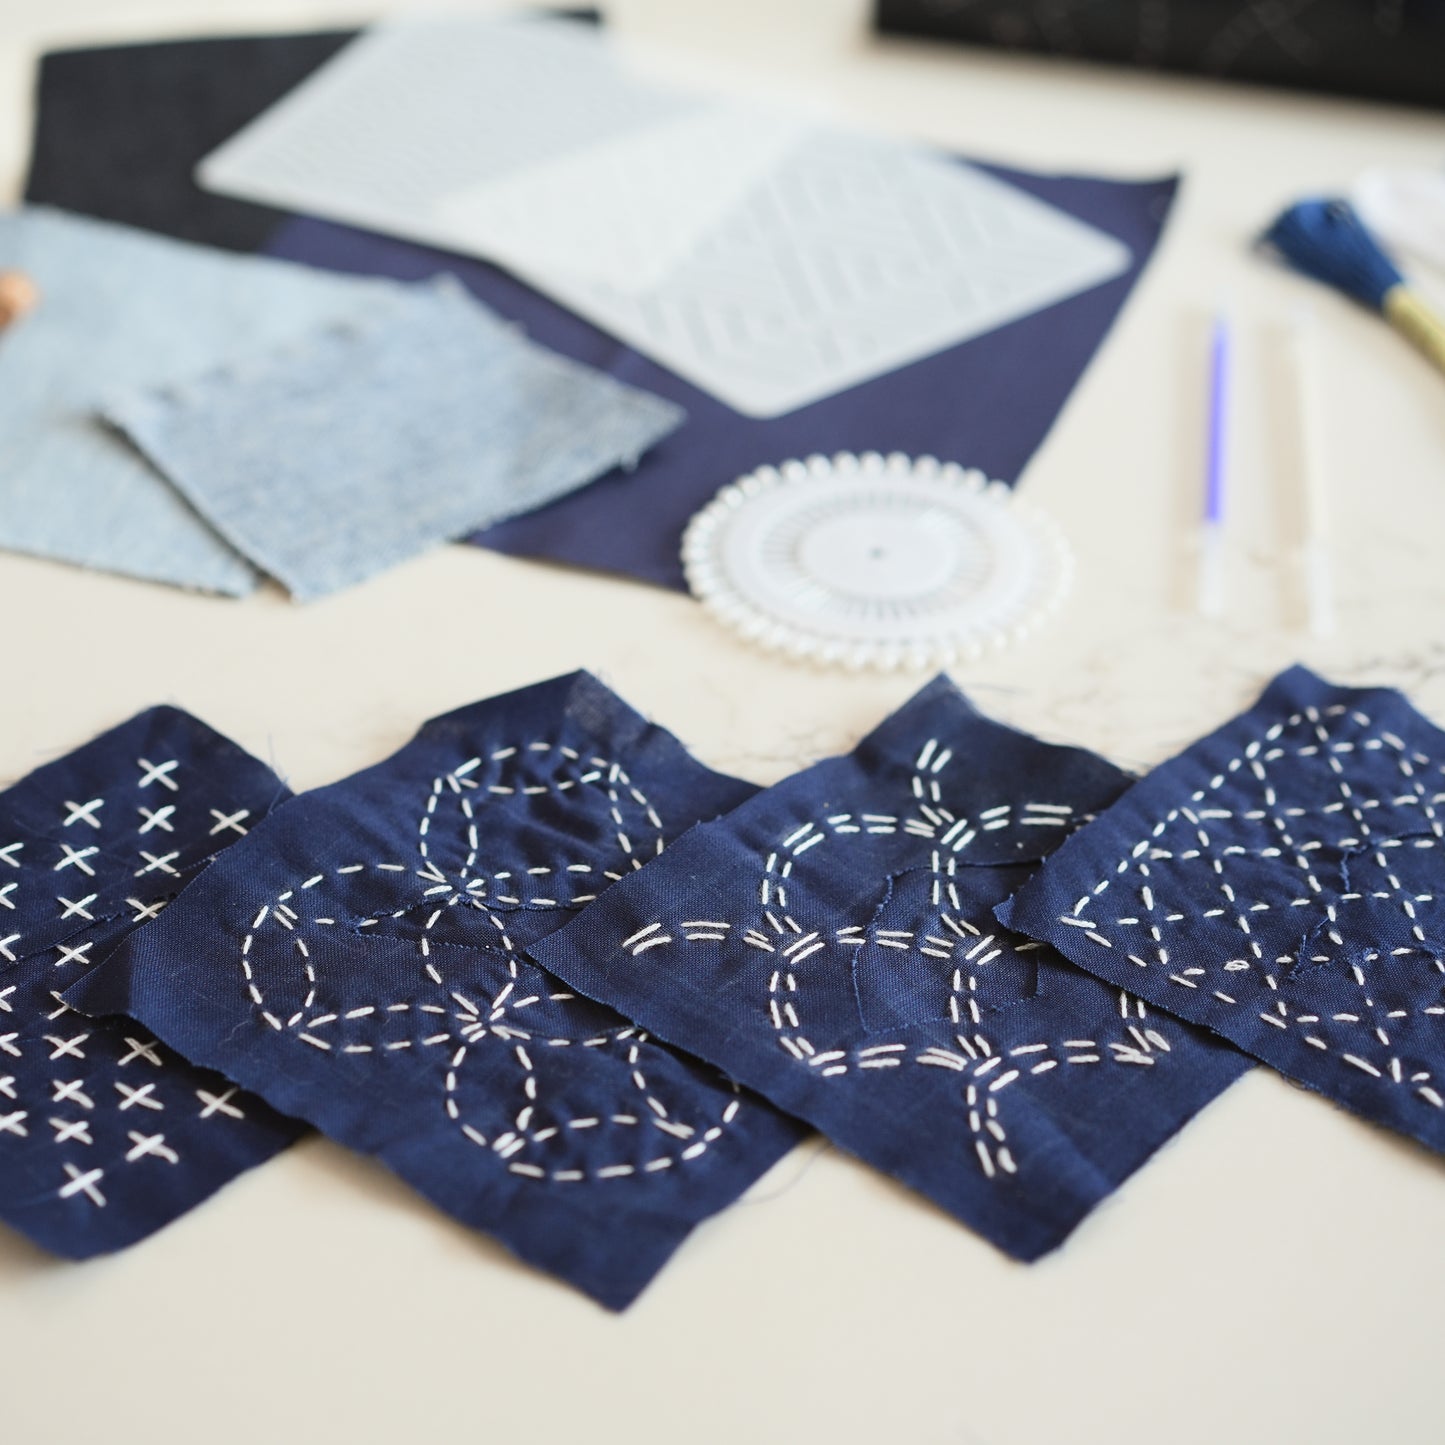
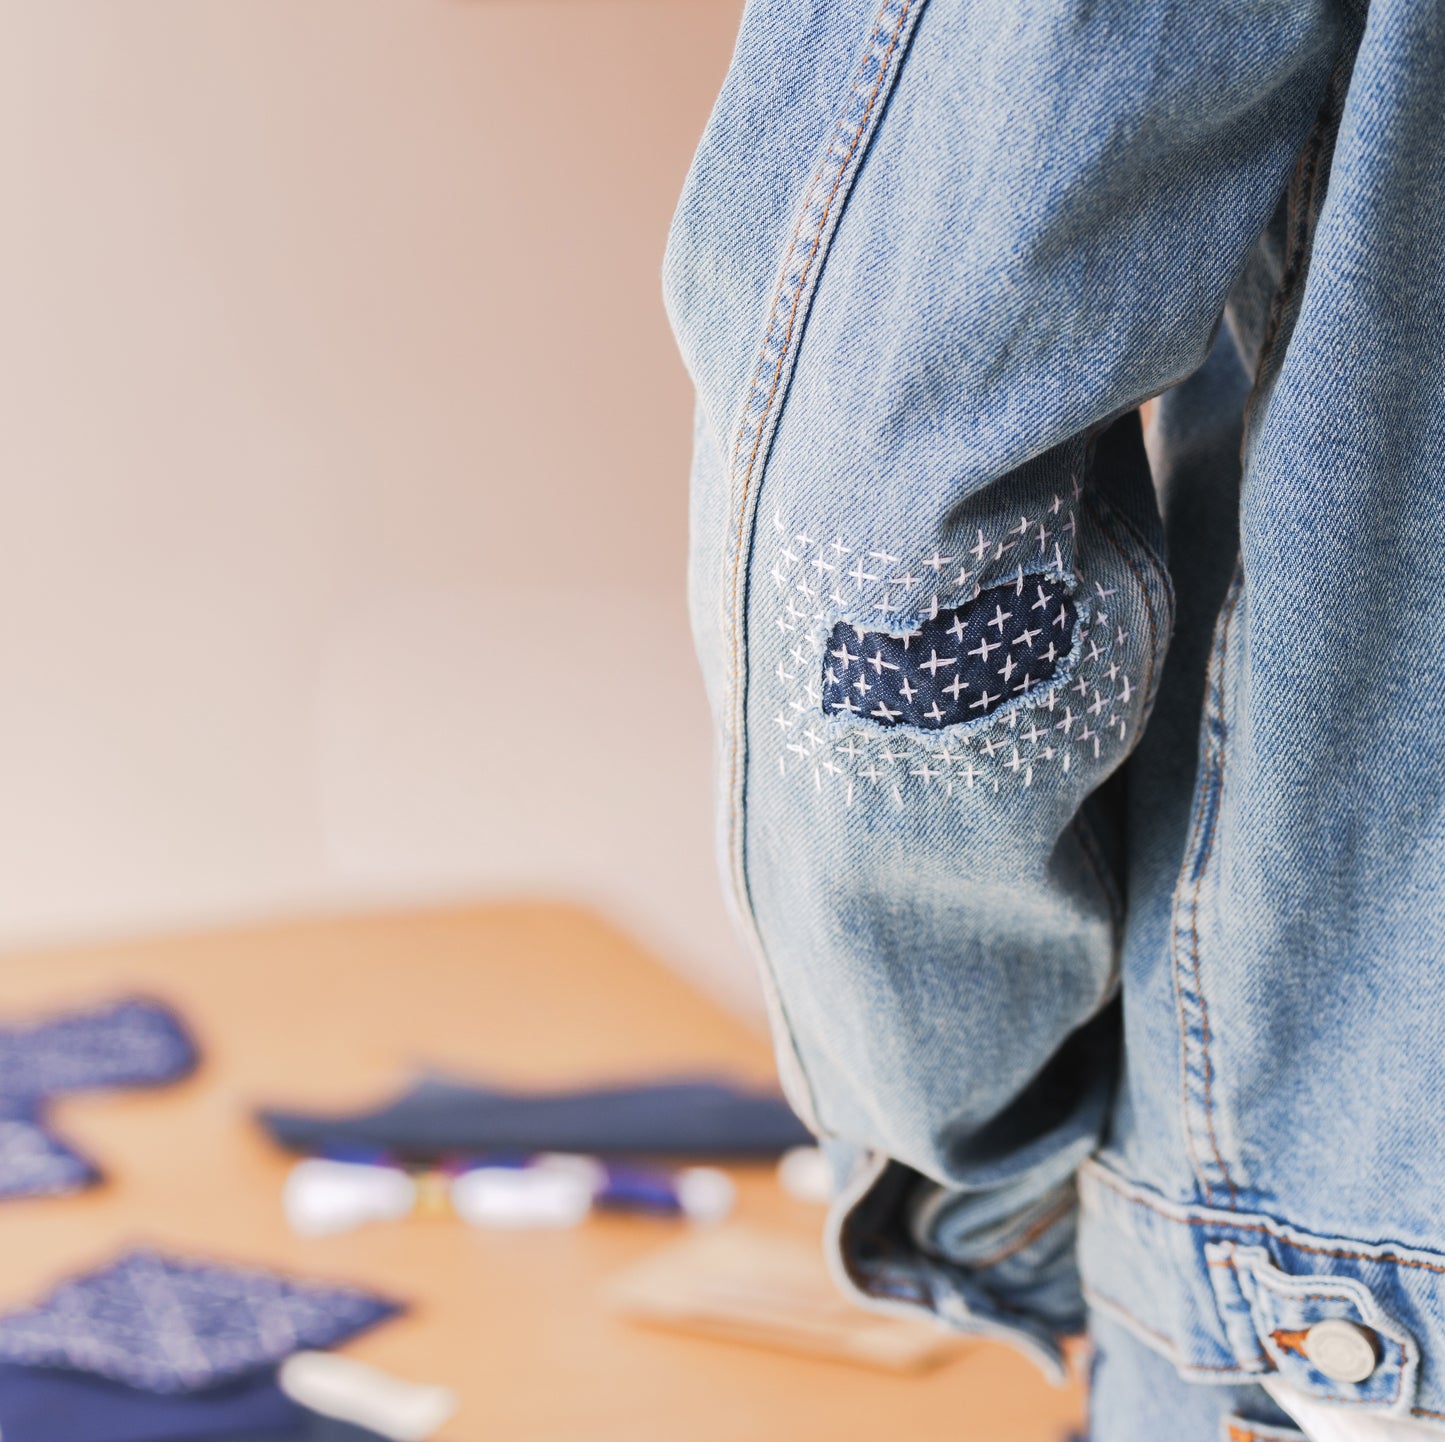
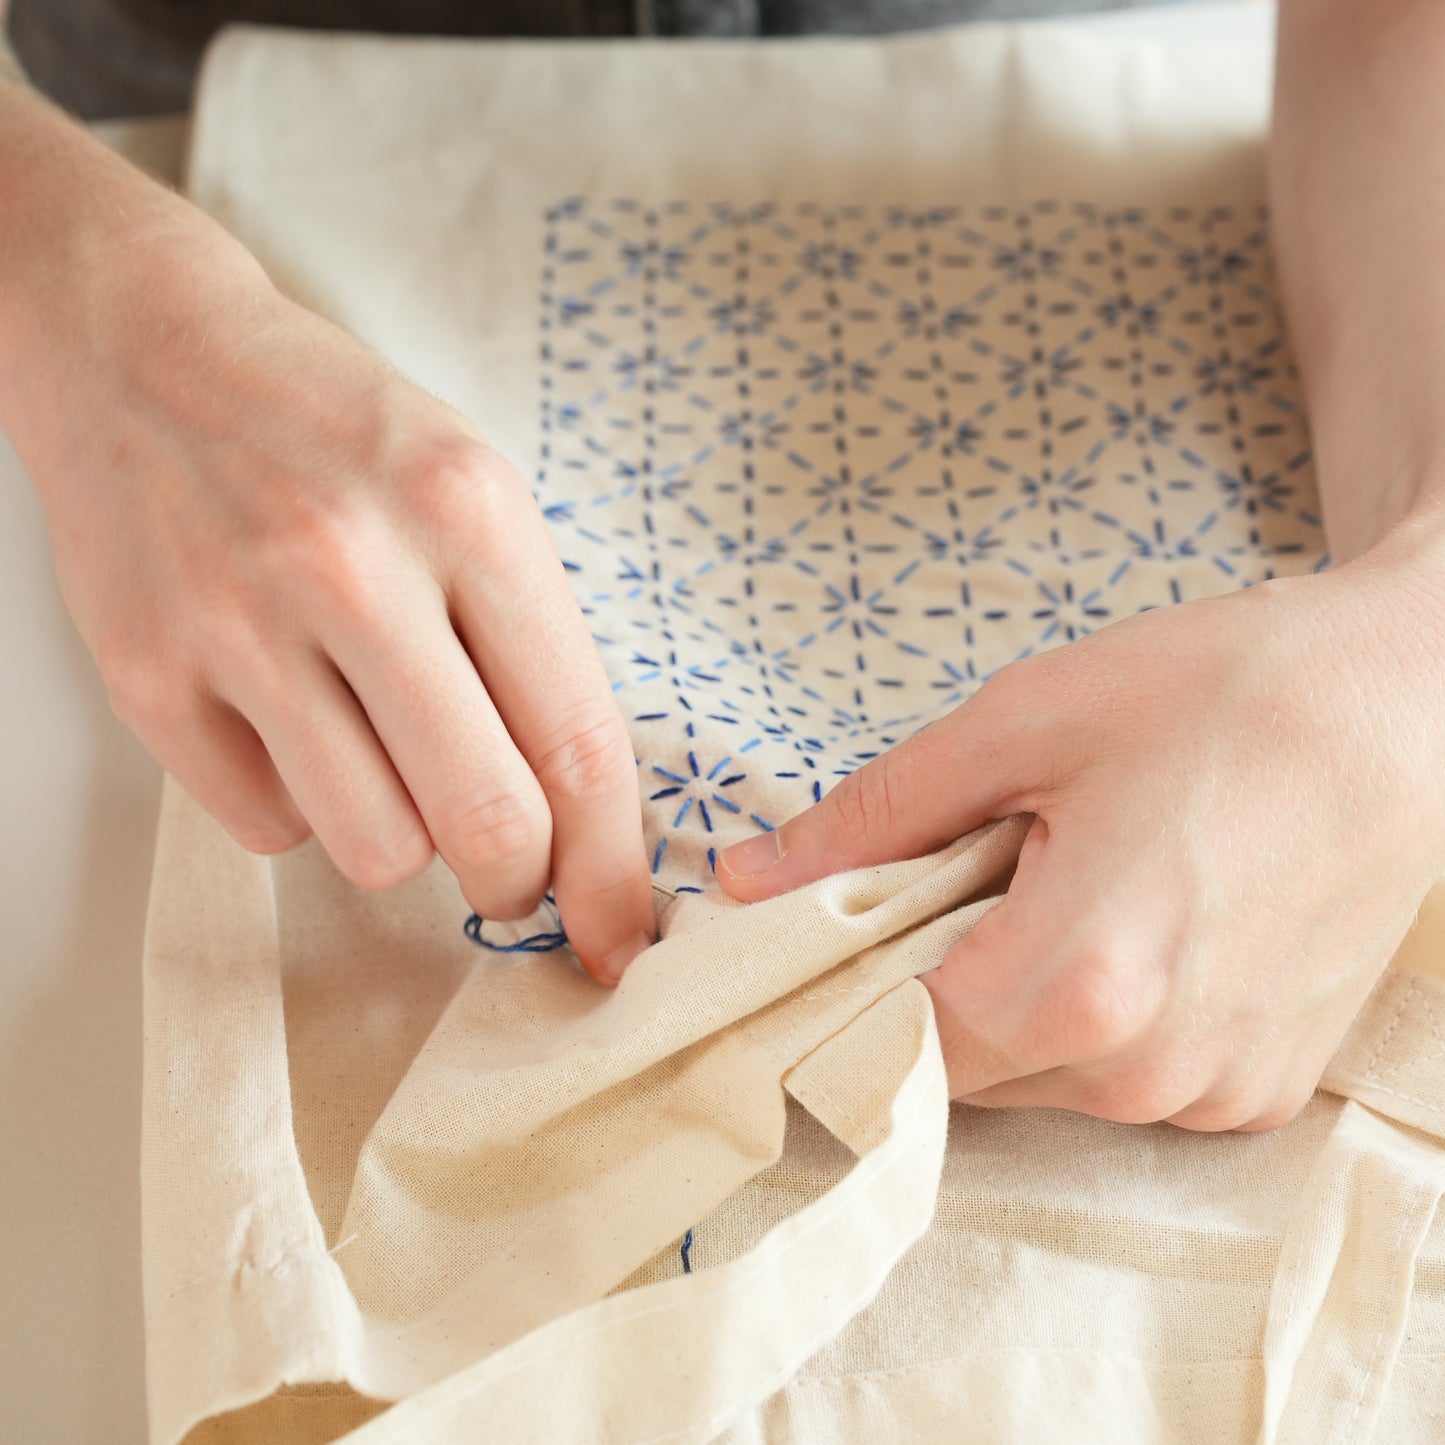
Imagine transforming a frayed hem or a torn pocket into a beautiful work of art that tells a story. Sashiko, a traditional Japanese visible mending technique, lets you do just that. If you’ve read our blog before, you’ll know we absolutely love the delicate look of sashiko embroidery, from its history to the basics of the technique. Sashiko embroidery is a fantastic way to blend artistry and sustainability, turning torn fabric into beautiful pieces.
If you want to learn about sashiko, or if you want to refine your skills, you’re in the right place! In this article, we’ll share ten essential sashiko tips and tricks to help you navigate the world of Japanese embroidery. Whether you’re a complete novice or looking to enhance your technique, we’ll guide you through the process, from selecting the right supplies to mastering the perfect stitch. So, grab your needle and thread, and let’s dive into the wonderful world of sashiko together!

1. Choose Good Supplies
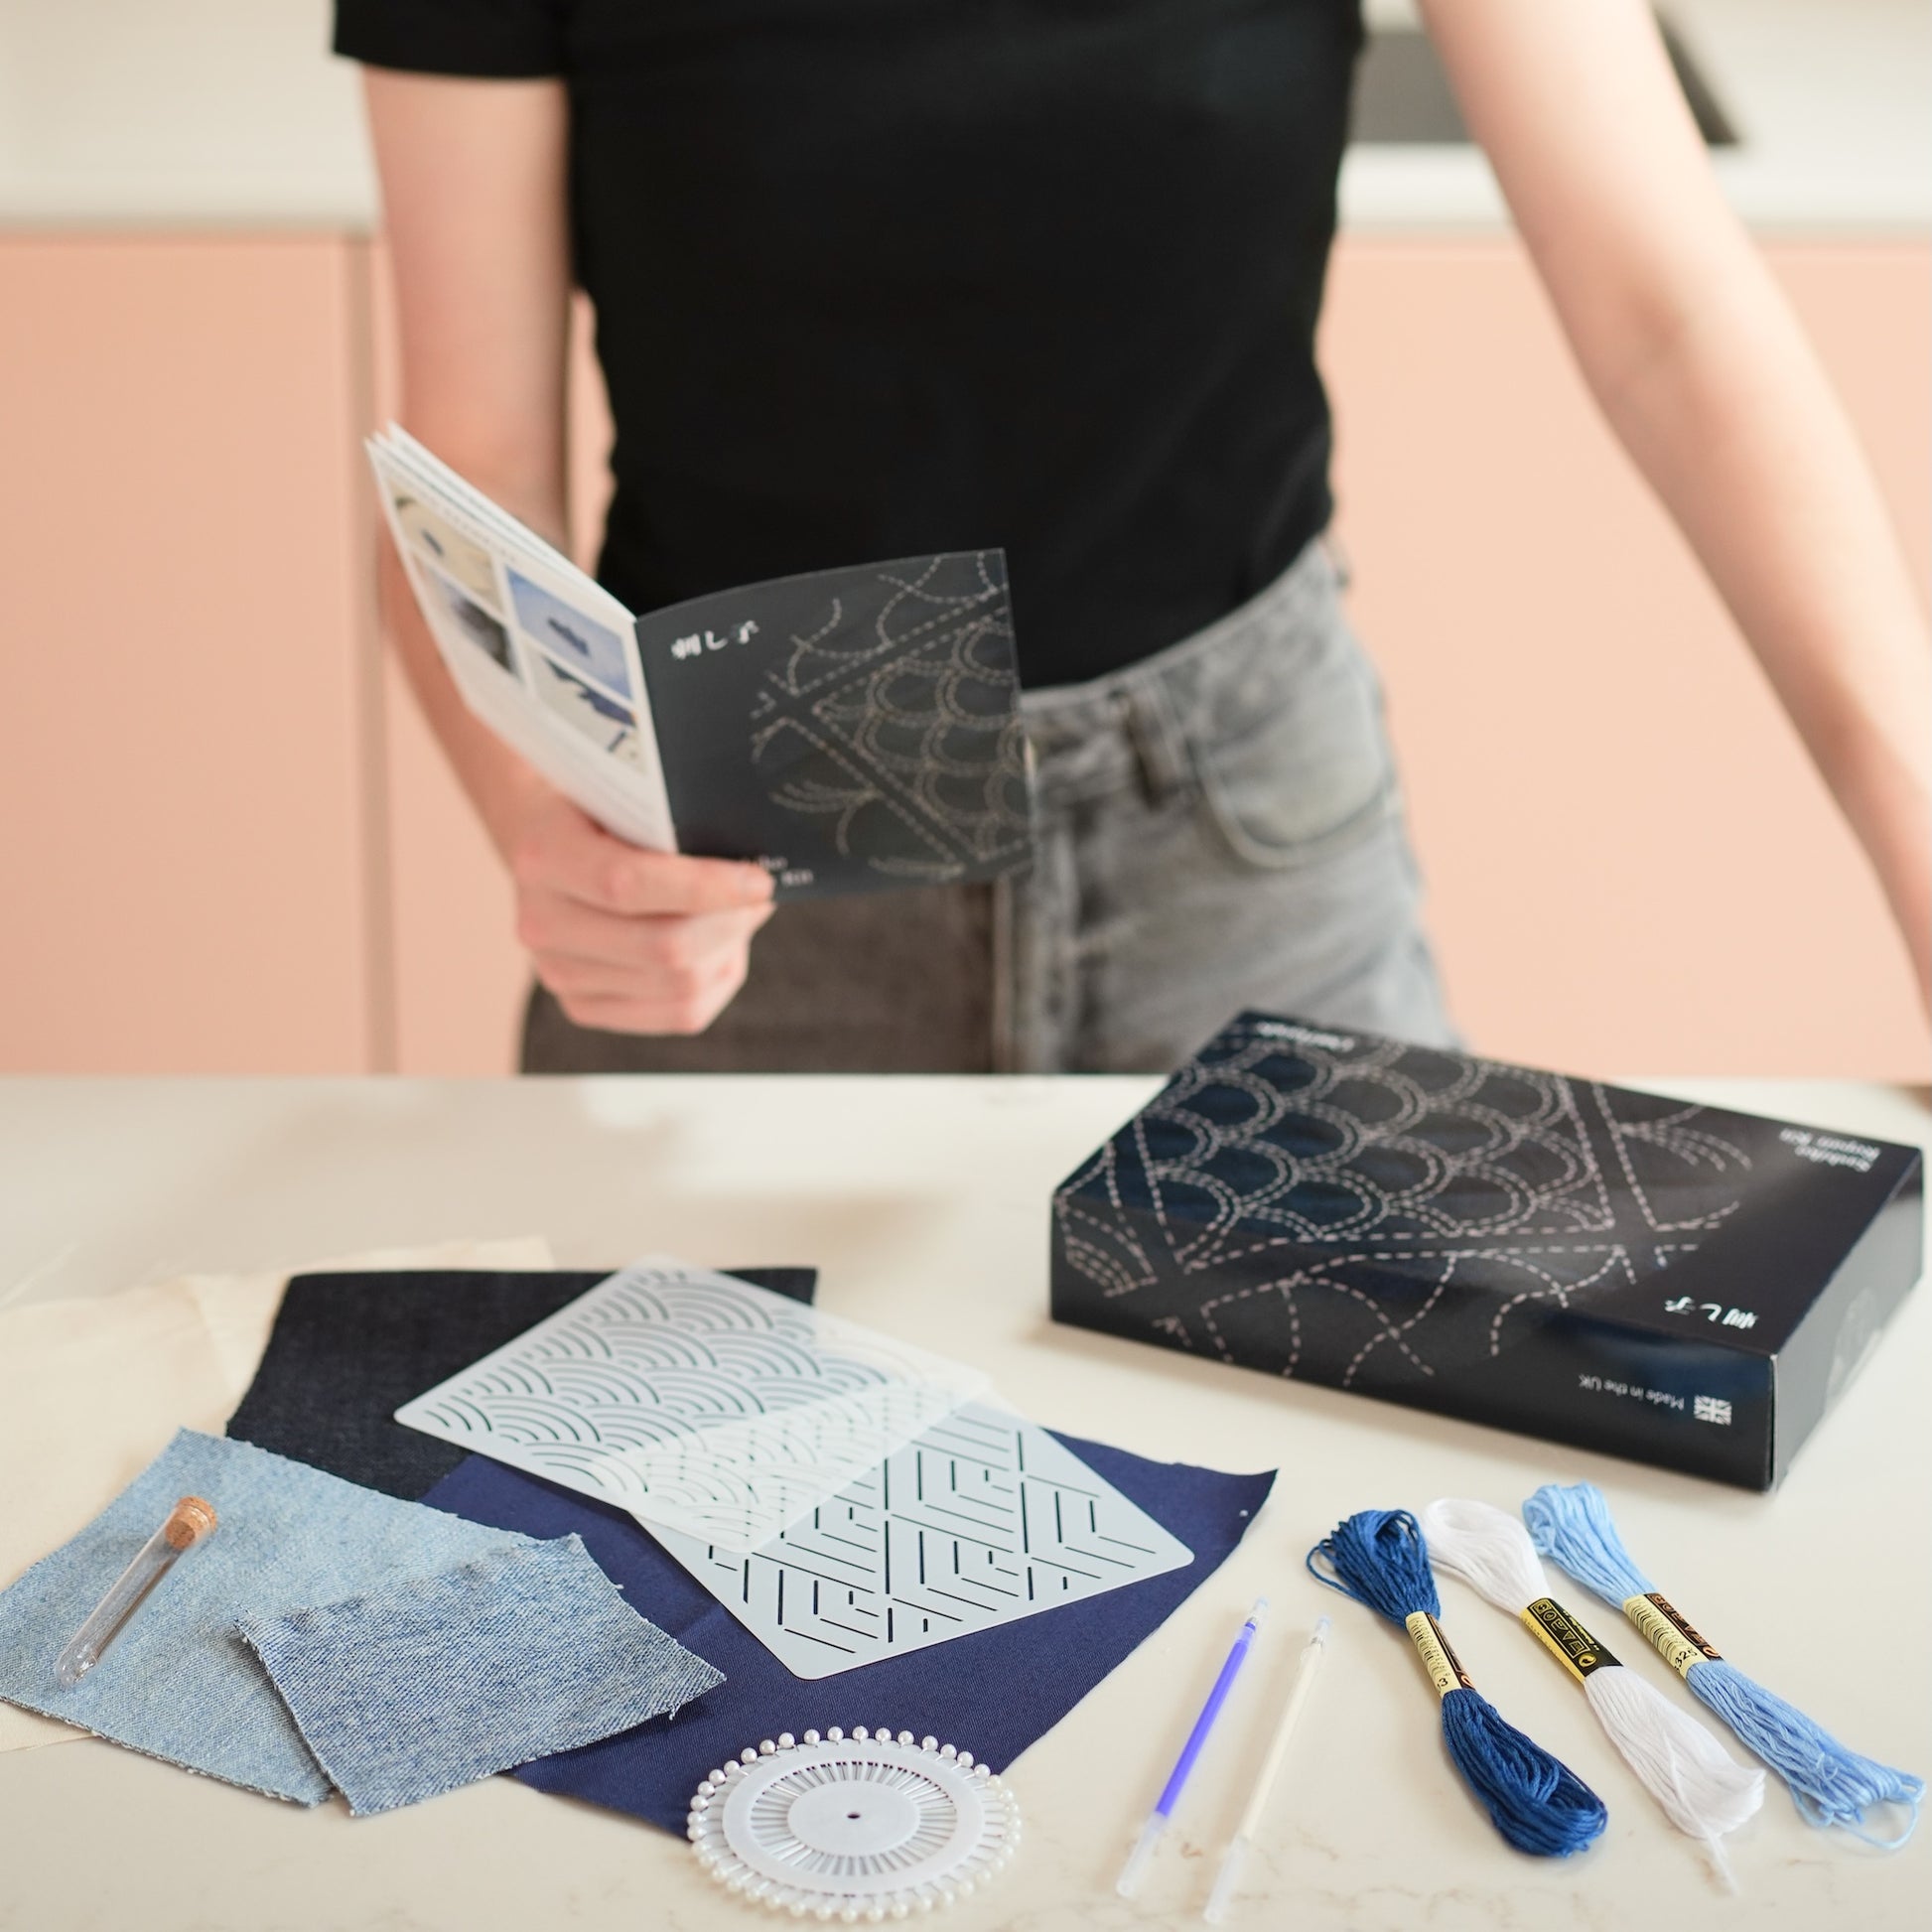
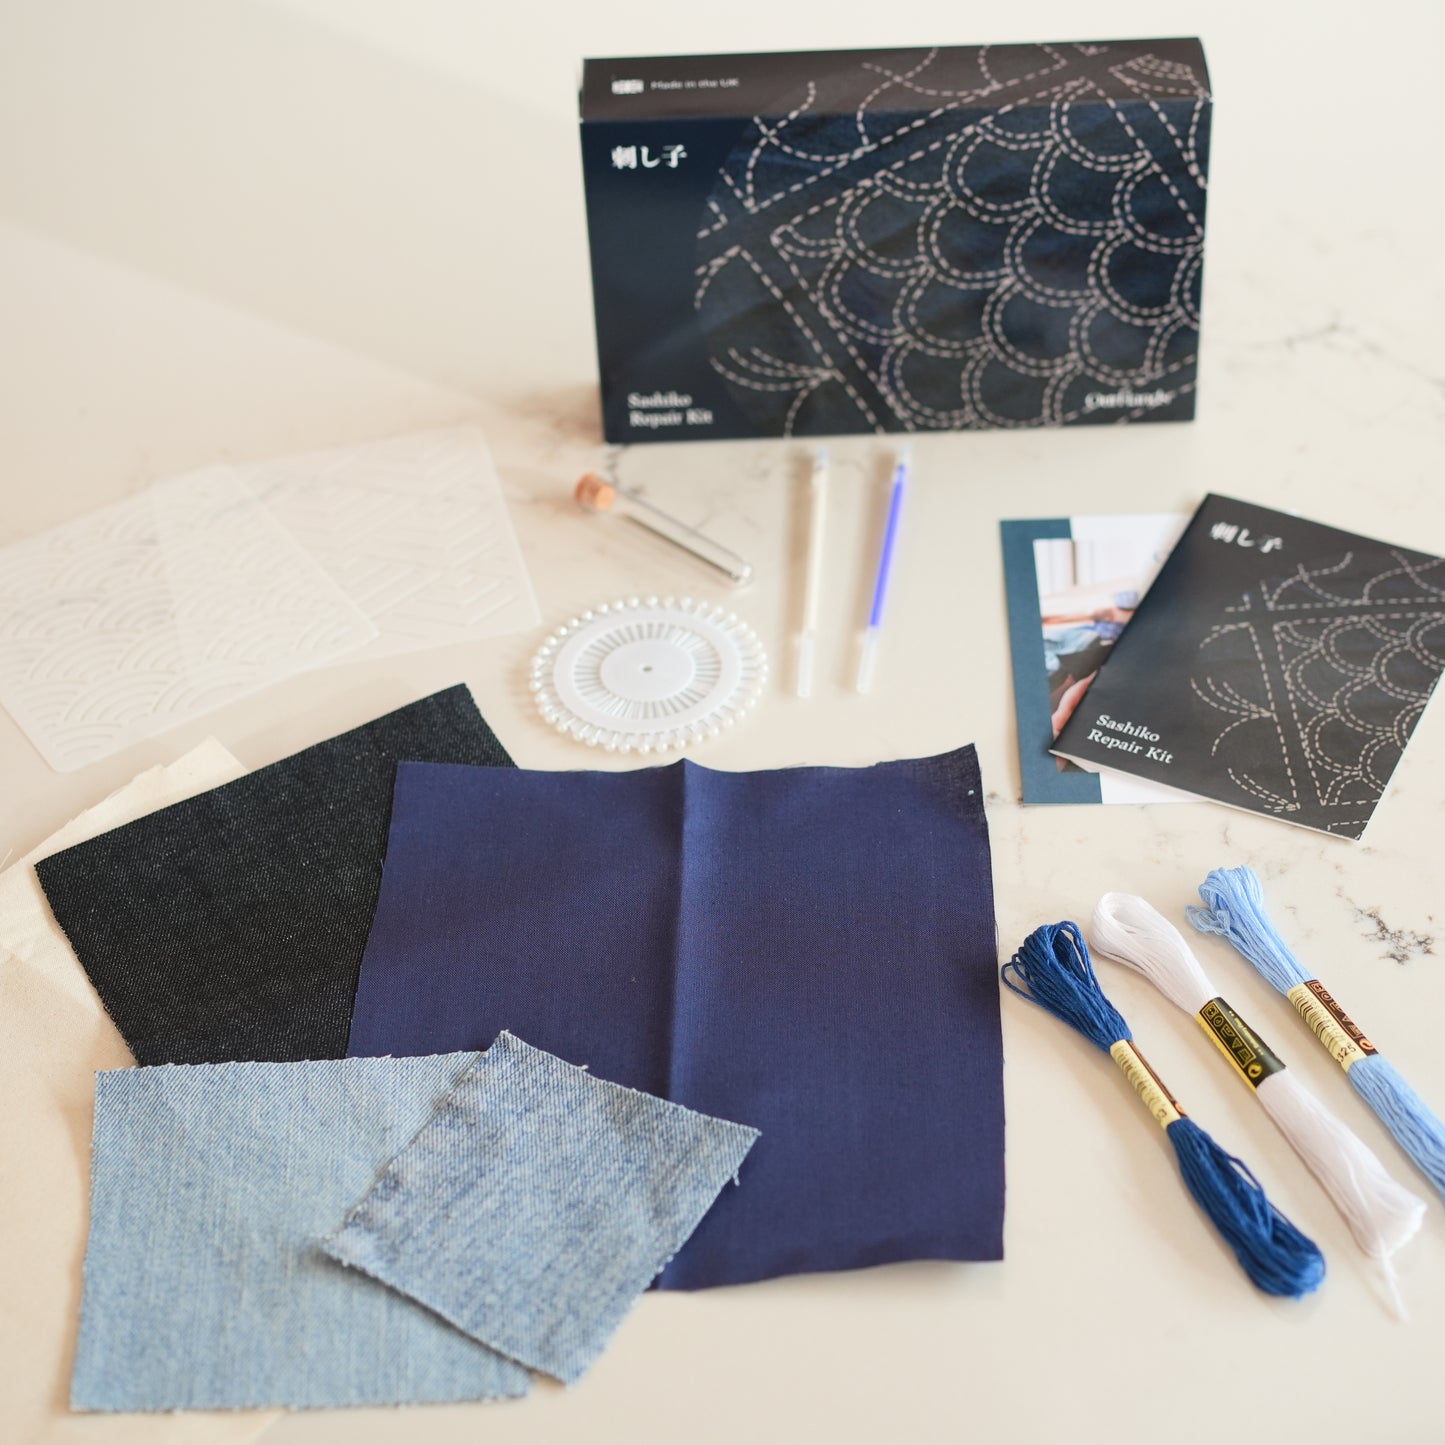
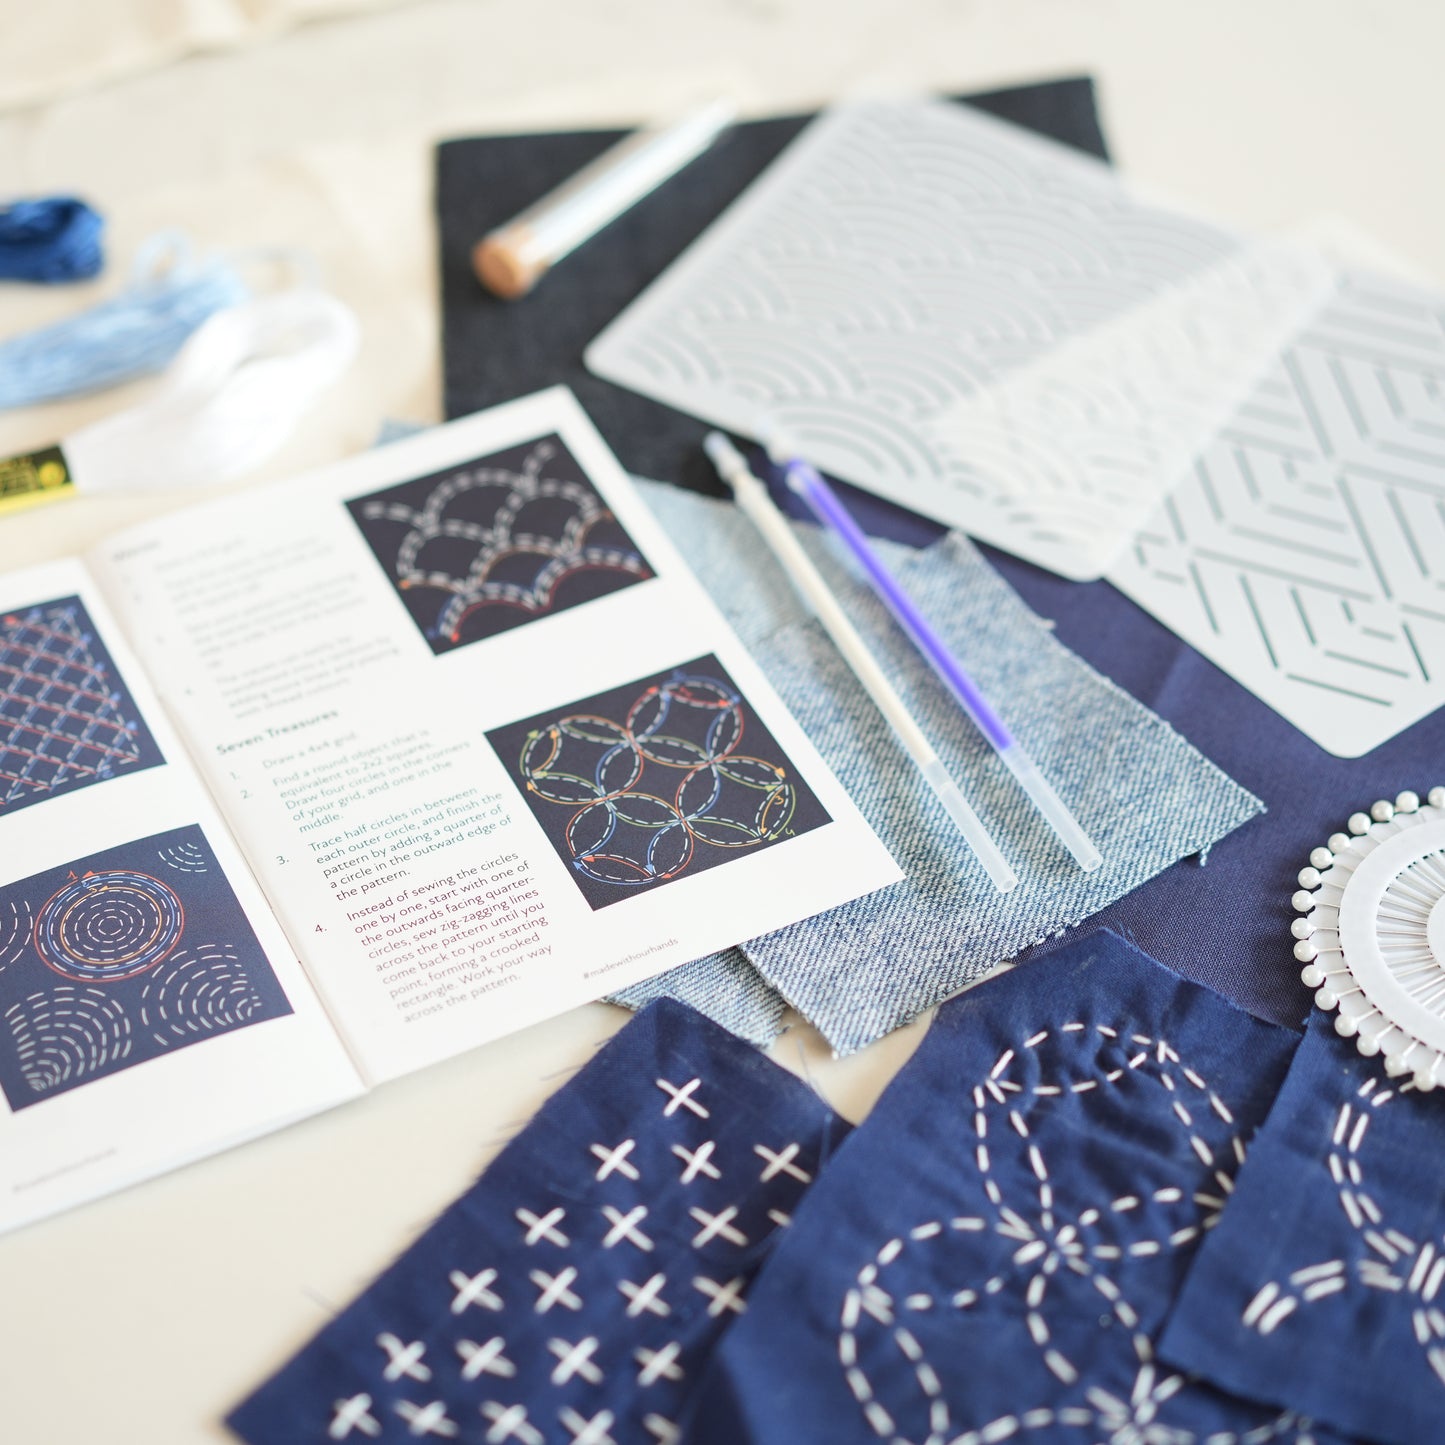
Investing in quality supplies makes a big difference in your sashiko experience. Proper sashiko needles are longer and sturdier, allowing you to pick up multiple stitches at once.
Different sashiko projects will also require different types of thread. Traditional sashiko thread is made of one single twisted strand that doesn’t divide, making it very strong. Embroidery floss has more of a sheen to it and can be divided into smaller bits of thread so you can play with the thickness of stitches. Whichever you end up choosing, getting good quality thread will make it less likely to break and fray. Quality materials will always pay off in the long run!
2. Pick the Right Fabric
Using the right type of fabric is an essential part of any sewing project. Traditional sashiko is often done on sturdy, natural fabrics such as cotton or linen, which can handle the stitching and keep their shapes.
When planning your next sashiko design, take some time to figure out which type of fabric would look best and be more practical. Thin fabrics such as muslin or chiffon will be easy to stitch but might not hold their shapes well, hiding the patterns. On the other hand, a tough fabric like denim will showcase your work beautifully, but you might need a stronger needle to handle the stiffness of the fabric. You’ll want to pick a fabric that not only matches your design, but is also durable enough to withstand the stitching.
3. Plan Your Design Carefully
The art of sashiko can seem intimidating, with its meticulous, intricate patterns, but just a little bit of planning can make the whole process a lot more straightforward! Start with sketching your design in a notebook, taking time to note things like dimensions, number of lines, and number of stitches per line. While this step is not strictly necessary, it is incredibly helpful to be able to refer back to a clear picture when you get lost in the middle of sewing!
Once you’re happy with your design, grab some sewing tape and some chalk, and lightly draw a grid on your fabric using the measurements from your sketchbook. Most sashiko patterns are repeating, precise geometrical patterns, so a grid will help keep everything neat and aligned, with straight, even lines. Having a clear plan of what you want to do and how will also help you figure out how much thread you should need for your project.

4. Think About Your Stitching Route
Before you start stitching, use the sketch in your notebook and the grid you’ve drawn on your fabric to plan your route across the fabric. In most other types of embroidery, you sew the pattern into the fabric by working on each element individually. Sashiko stitching is different. In order to make sure each line is perfectly straight and even, it is recommended to work on all lines going into one direction before switching to another part of the design.
As you work on your sashiko project, remember a few key guidelines: keep your lines straight, your stitches even, and avoid crossing any lines unless the pattern specifically calls for it. By planning your stitching route ahead of time, you'll ensure your design stays clean, neat, and true to the intricate nature of sashiko.
5. Secure Your Patches First
If you’re using sashiko to patch or embellish fabric, you’ll want to make sure to secure your patches before you start stitching. You can use sewing pins or some temporary fabric glue that will dissolve in water to hold everything into place while you’re working.
This step is especially important when working with intricate patterns needing a grid, as you’ll want to ensure the grids on both the garment and the patch align perfectly, so your design looks cohesive and neat.
6. Use Less Thread for Easier Stitching
When starting a sashiko project, it might seem easier to cut one long piece of thread and dive right in. However, these long threads can be a nightmare to work with—they're more prone to tangling, can easily get caught in the fabric, and may scrunch up the material as you tighten your stitches. Instead, aim for shorter lengths of thread—ideally one for each line—until you feel more confident to go longer. Shorter threads are much less likely to tangle, allowing you to maintain better control and achieve cleaner, more precise stitches.
Using less thread also helps you gauge exactly how much you’ll need, reducing waste. Say goodbye to those little bits of leftover thread that you never quite know what to do with! Plus, if a stitch gets damaged over time, you can simply redo that one line without having to unravel everything you’ve done.

7. Keep Your Lines Straight
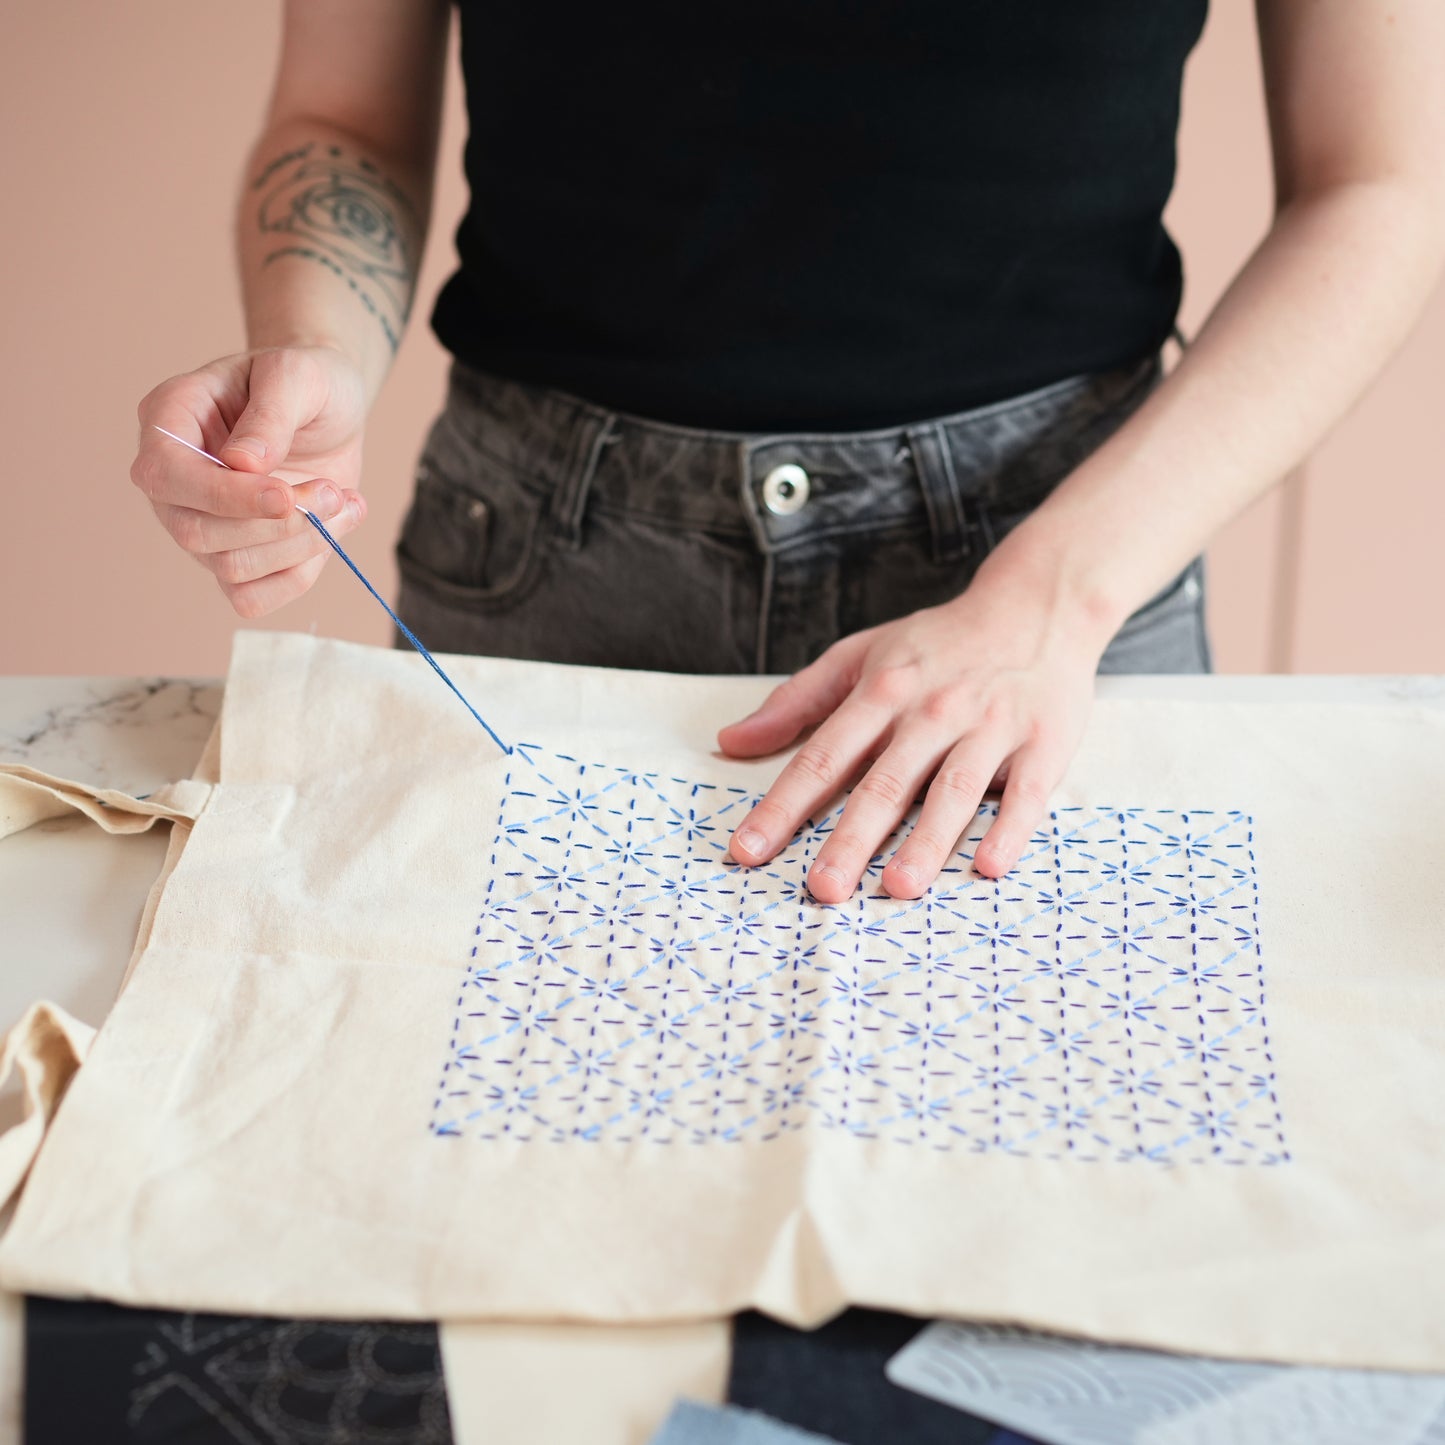
Part of the beauty of sashiko comes from its intricate, precise patterns. When it comes to sashiko stitching, the neater the better! With the grid we mentioned in a previous step, you can make sure your lines are all straight and parallel to each other, making your embroidery project look neater and more professional.
When stitching with the sashiko method, you want to load as many stitches as possible onto your needle before pulling through the fabric. Make sure to keep your needle as straight as possible while loading the needle to help your lines be more straight.
8. Make Your Stitches Even
The more consistent your lines, the more your sashiko design will stand out. Each stitch should be the same size, as should each space between the stitches. This will make your work look more polish, and make the repair strong enough to withstand the stand of time!
We’ve mentioned loading your stitches onto the needle being an essential part of keeping the lines of your design straight. It is also a tremendous help in making sure your stitches are even, giving great control over the needle. If you’d like your stitches to be as precise as possible, you can mark the size of your desired stitches on the thumb of your non-dominant hand. This can serve as a handy guide, helping you maintain consistency and precision throughout your project.
9. Skip the Knots
Unlike other methods of embroidery, sashiko does not involve an embroidery hoop, so it’s important to make sure your fabric does not bulk under the weight of the stitches. The long, uninterrupted bits of thread that make a sashiko design can make that quite challenging.
Instead of tying knots to the back of the fabric when you’re done, simply weave your thread back on forth into the previous existing stitches you’ve just done. This method secures your work while still giving the thread enough slack to move naturally with the fabric, keeping your design neat and the fabric smooth.
10. Get Rid of Chalk with an Old Toothbrush
The intricate geometrical patterns of sashiko involve quite a lot of planning, from marking your grid to drawing your desired pattern. While chalk is perfect for creating these precise lines, it can be difficult to get out of the fabric once you’re done without damaging the delicate stitches of the piece. Washing your fabric will help get rid of the chalk but, with those of the more intricate designs, it can damage the thread and lead to messy patterns.
Instead, try reaching for an old toothbrush! The soft bristle will be gentle enough to brush away the chalk residue without damaging your work. Simply run the toothbrush lightly over the fabric in soft, circular motion until the chalk disappears.

11. Have fun with it!
Jumping into a new hobby can be very overwhelming, especially when it’s a craft as ancient and revered as sashiko. These tips and tricks will help you get started with confidence, but remember that visible mending is a creative activity with no set rules!
So, go get your needles and fabrics ready, enjoy the process, and let your creativity shine!

